

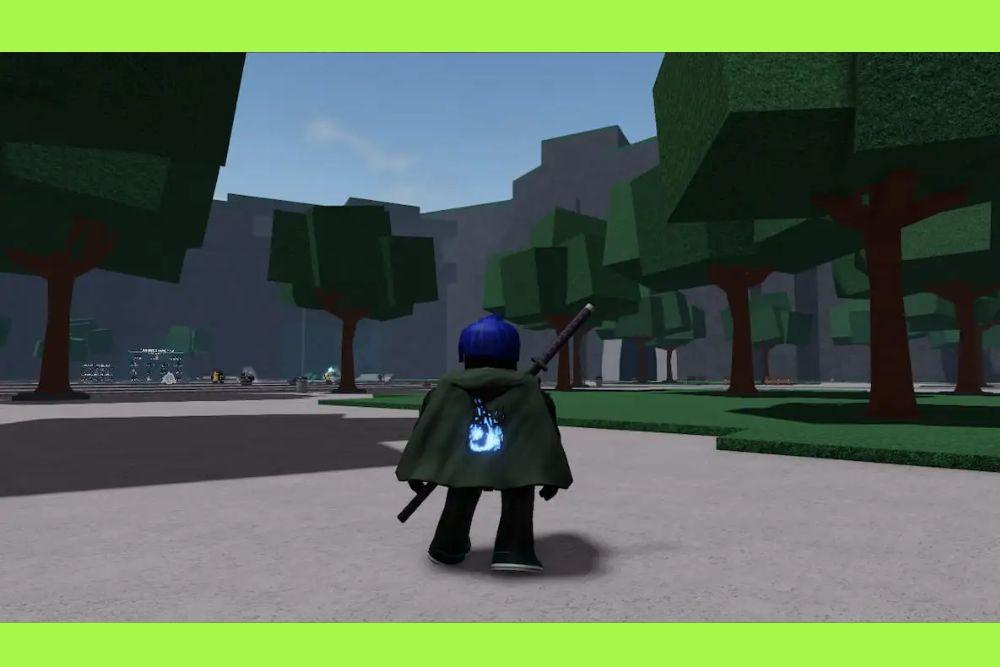
Learning how to add images to cape on Roblox is one of the most effective ways to make your character look unique while navigating the millions of user generated worlds available today.
While the platform provides plenty of standard accessories, there is something special about wearing a design that you created or selected yourself.
Whether you are aiming for a clan logo, a meme, or a sleek professional design, the process involves a mix of external image editing and the Roblox Creator Hub.
Can you add custom images to any cape in Roblox?
The answer depends entirely on the specific item or game you are playing. While you cannot technically "edit" an official accessory purchased directly from the Roblox Avatar Shop once it is in your inventory, many games within the platform feature custom cape systems.
These games allow players to input a Decal ID (a specific string of numbers) to change the texture of their back accessory.
Additionally, if you are a creator making your own game or a UGC (User Generated Content) item, you have full control over the textures applied to your 3D models.
For most players, the goal is to customize a cape within a specific experience, such as a roleplay game or a combat simulator.
These developers know that players love individuality, so they build "ID input" fields into their menus. This is where your custom image comes into play.
How do you create a custom image for a Roblox cape?
You need to prepare a digital file that meets the platform's technical requirements before you even open Roblox.
Most creators use software like Photoshop, GIMP, or even free web based tools like Canva or Photopea. The key is to ensure the image looks good when scaled down to fit a character's back.
- Use a square aspect ratio (512x512 pixels is a standard and safe bet).
- Save your file as a .png or .jpg, though .png is preferred if you want transparency.
- Ensure the design is centered so it does not get cut off by the edges of the cape model.
- Avoid using copyrighted logos or restricted imagery, as the Roblox moderation team will flag and delete these during the upload process.
Once your file is ready, you are halfway to seeing it in the game. Remember that high resolution images are great, but Roblox will compress them, so bold designs often work better than intricate, tiny details.
What are the steps to upload your image to Roblox?
The process of moving your file from your computer to the Roblox servers happens through the Creator Hub.
This is the backend of the site where all assets are managed. It is important to note that while uploading decals is free, they still undergo a manual and automated review process that can take anywhere from a few minutes to a few hours.
- Log into your account on the official Roblox website.
- Click on the "Create" tab located in the top navigation bar.
- On the left hand sidebar, select "Dashboard."
- Navigate to the "Development Items" tab and then click on "Decals."
- Click the "Upload Asset" button.
- Select the image file from your device and give it a name.
- Click "Upload."
After the upload is finished, the image will appear in your list of assets. If you see a small "hourglass" icon or a placeholder image, it means the moderators are still checking it.
Once it is approved, the thumbnail will appear, and your image is live.
Where do you find the Decal ID for your cape?
The Decal ID is the specific numerical code that tells a game which image to pull from the Roblox database.
You cannot just use the name of the file; you need the unique identifier found in the asset's URL.
- Go back to the "Decals" section in the Creator Hub.
- Click on the decal you just uploaded.
- Look at the URL in your web browser's address bar.
- Find the string of numbers located between "/library/" and the name of the decal.
- Copy only those numbers.
For example, if the URL is roblox.com/library/123456789/MyCoolCape, your ID is 123456789. This is the code you will paste into the game's customization menu to apply your image to your cape.
Why is your image not appearing on the cape?
It can be frustrating when you paste your ID and nothing happens, but there are usually three common reasons for this.
First, the image might still be in the moderation queue. If Roblox has not cleared the image, it will appear as a blank gray or white texture in the game. Second, you might be using the "Library ID" instead of the "Image ID."
Sometimes, the number of the Decal asset is slightly different from the actual Image asset ID. If the Decal ID doesn't work, try subtracting 1 from the last digit (a common quirk in the Roblox asset system), or view the asset in Roblox Studio to find the specific Image ID in the properties panel.
What are the rules for custom cape images on Roblox?
Roblox is a platform that hosts millions of younger players, which means their moderation team is very strict.
If you try to upload an image that violates their Terms of Service, your account could face warnings or even a permanent ban. It is essential to follow these guidelines to keep your account safe:
- No "off platform" links or social media handles (unless specifically allowed).
- No suggestive or violent content.
- No personal information, such as your real name or face.
- No imagery related to restricted political or sensitive real world events.
- Avoid copyrighted material that might be flagged by automated filters.
If your image is rejected, do not try to upload it again immediately. Check what might have triggered the filter, make the necessary changes, and then try again.
Using a generic name for the file like "CapeTexture01" instead of something descriptive can sometimes help avoid accidental flags from the automated system.
Can you use Roblox Studio to add images to capes?
Yes, and this is actually the most reliable way to do it if you are developing your own experience or testing how an asset looks.
In Roblox Studio, you can use the "Properties" window to manually change the "TextureID" of a mesh or part.
- Open your place in Roblox Studio.
- Insert a Cape model or accessory.
- Select the "Mesh" or "Handle" part of the cape in the Explorer.
- In the Properties window, find the "TextureID" field.
- Paste your Decal ID directly into that field and hit enter.
Studio will automatically convert the Decal ID into the proper Image ID for you. This allows you to see exactly how the image wraps around the 3D object.
You can adjust the "Offset" or "Tiling" if the game's scripts allow for it, ensuring the image is perfectly positioned.
What are the technical specifications for a perfect cape texture?
To get the most professional look, you should pay attention to the "wrapping" of the texture. Most capes in Roblox are not flat planes; they have folds and curves.
If you put a complex landscape on a cape, the folds will distort the image.
| Feature | Recommended Setting |
| File Format | .PNG (for transparency) |
| Resolution | 512x512 pixels or 1024x1024 pixels |
| Color Profile | RGB |
| Transparency | Supported for "torn" or "tattered" looks |
If you want a cape that looks like it has been through battle, using a PNG with transparent "holes" at the bottom is a great trick.
This makes the 3D model look much more detailed without actually adding more polygons to the game.
Play Roblox without lag. Download NoPing now and start your free trial!